Learn
Seam allowance and finishing seams
Seam allowance is the distance from cut edge to stitch line; our patterns state it before you cut.
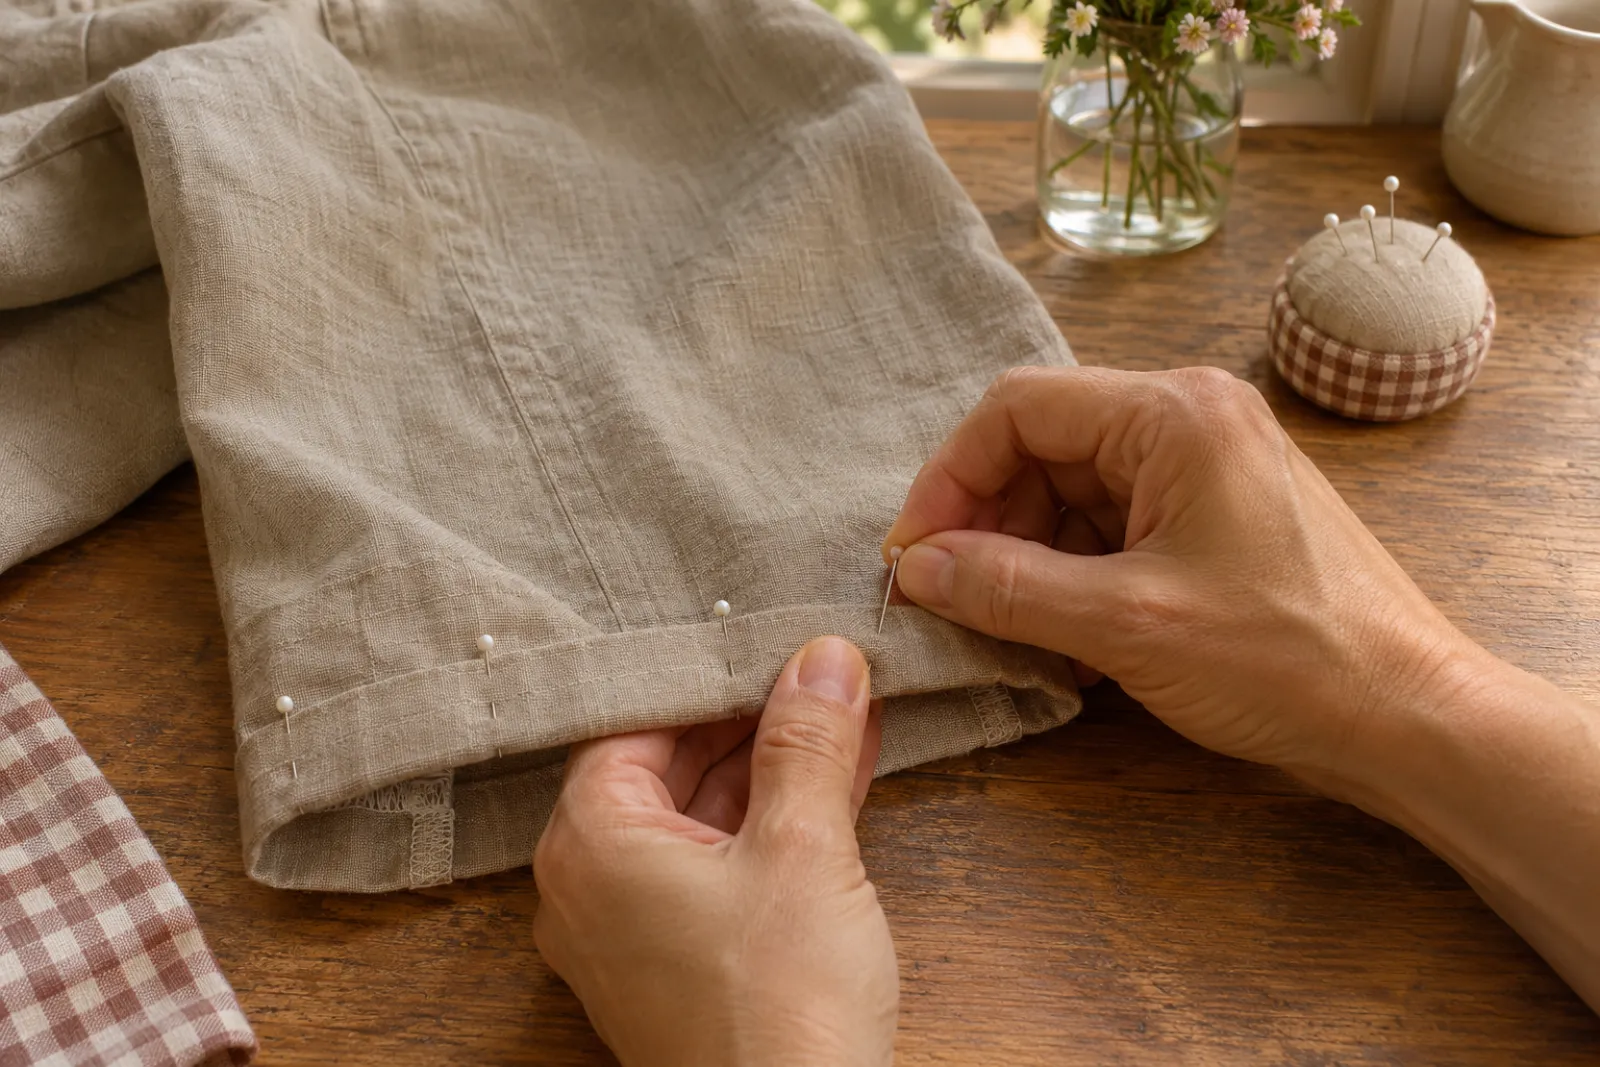
For practice, allow 30–60 minutes (planning estimate). Bring a fabric scrap, suitable needle and matching thread. Use the model manual for machine work.
Which allowance should you use?
Use the amount in your pattern. Our tote uses 1/2 in; quilt examples use 1/4 in. These are drafted choices, not a rule for every garment. Measure from the needle position actually selected.
How can you keep a straight seam?
Mark a line on scrap fabric 1/2 in from the edge. Sew on the line, then check the distance. Guide the fabric without pulling it. Press the seam before judging its shape.
How do you finish a raw edge?
For woven cotton, a zigzag can wrap the edge without cutting into the seam. A serger trims and wraps it. A folded enclosed finish hides the raw edge but requires enough allowance; do not add it to a narrow drafted seam without recalculating.
Which sources did we use?
- Coats seam construction typesthread maker teaching reference · read 2026-11-04
- Juki MO-654DE maker specificationsmaker page · read 2026-11-04
What if the practice seam goes wrong?
Stop and check the threading, needle and fabric combination before changing settings. Use the stitch fixer to match the symptom to a first check.
What should you practise next?
Try the scrunchie cutting chart and steps, or keep the beginner PDF pack for later.
Continue to the next lesson ↗