Learn
How to sew a button by hand
Match the replacement button to the old position and allow room for the fabric beneath it.
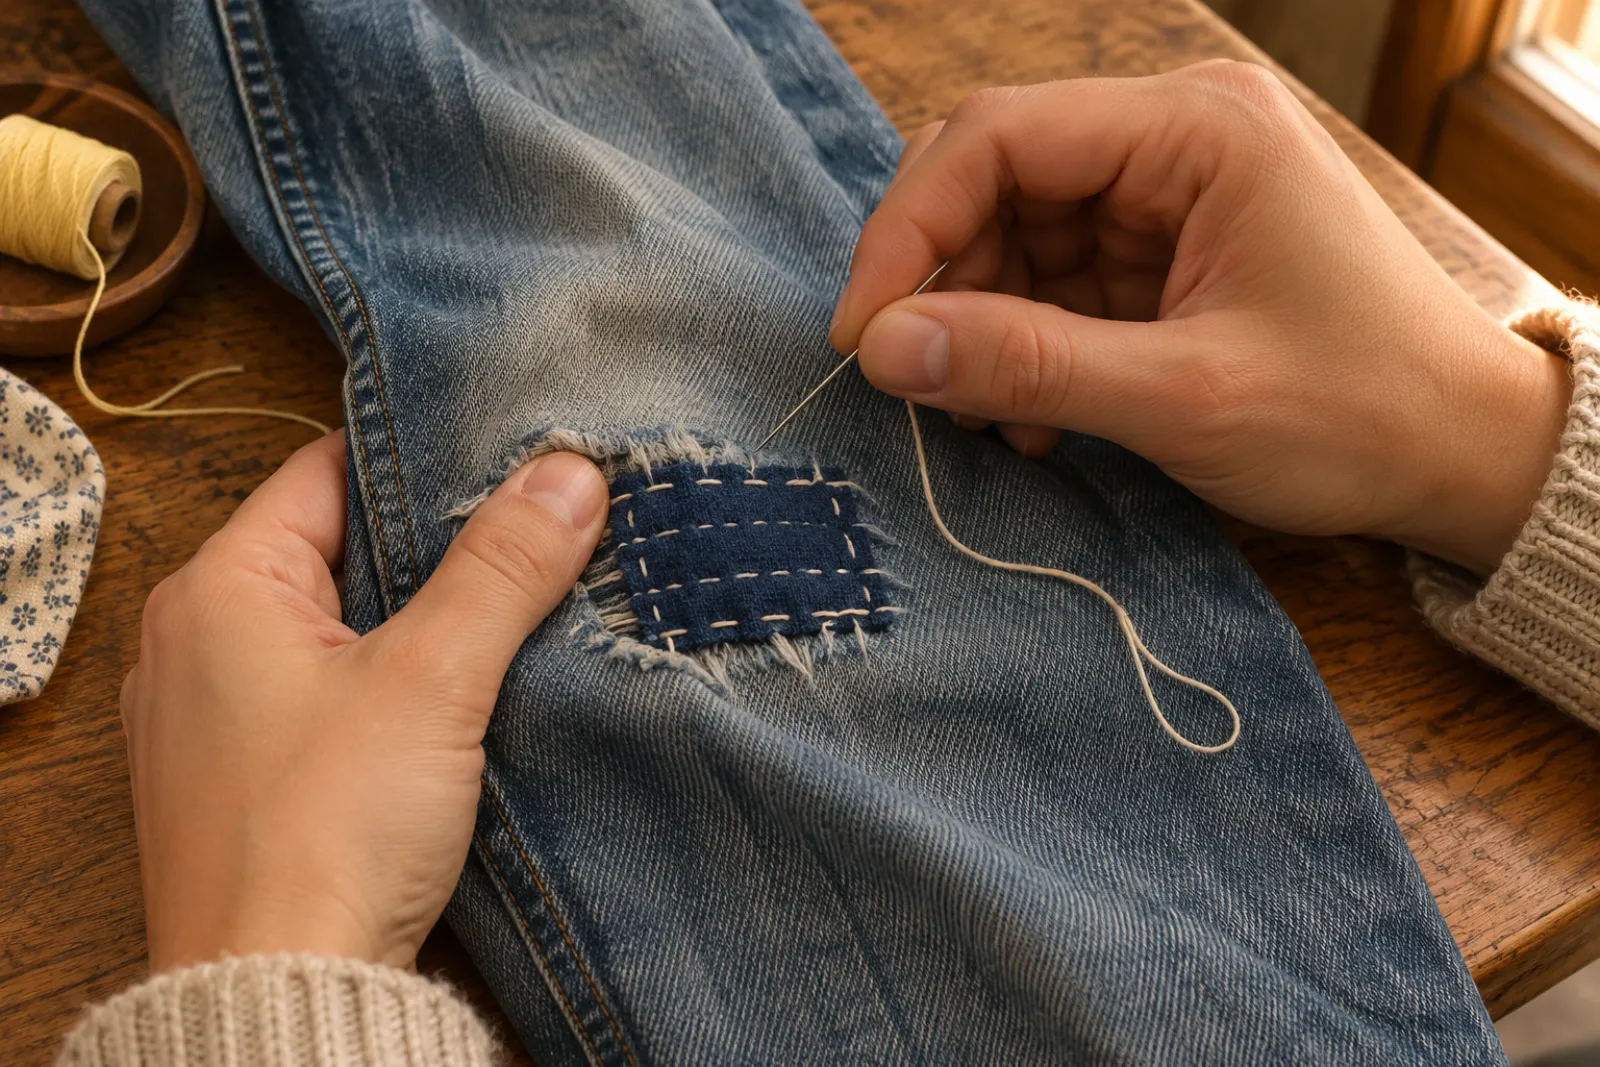
For practice, allow 30–60 minutes (planning estimate). Bring a fabric scrap, suitable needle and matching thread. Use the model manual for machine work.
What do you need?
Use a matching button, hand needle, thread and scissors. Mark the original location with chalk. If the fabric has torn, repair or reinforce it before attaching the button.
How do you attach a flat button?
Knot the thread and come up from the wrong side. Pass through one hole and down through its partner. Repeat several times, checking that the button can move enough for the garment thickness. For four holes repeat through the second pair.
How do you finish the thread?
Bring the needle out under the button. Wrap the threads beneath it if the garment needs a thread shank. Secure with small stitches on the wrong side, then trim. Fasten the garment to check alignment before wearing it.
Which sources did we use?
- Janome Hd Manualmaker reference · read 2026-11-04
What if the practice seam goes wrong?
Stop and check the threading, needle and fabric combination before changing settings. Use the stitch fixer to match the symptom to a first check.
What should you practise next?
Try the scrunchie cutting chart and steps, or keep the beginner PDF pack for later.
Continue to the next lesson ↗