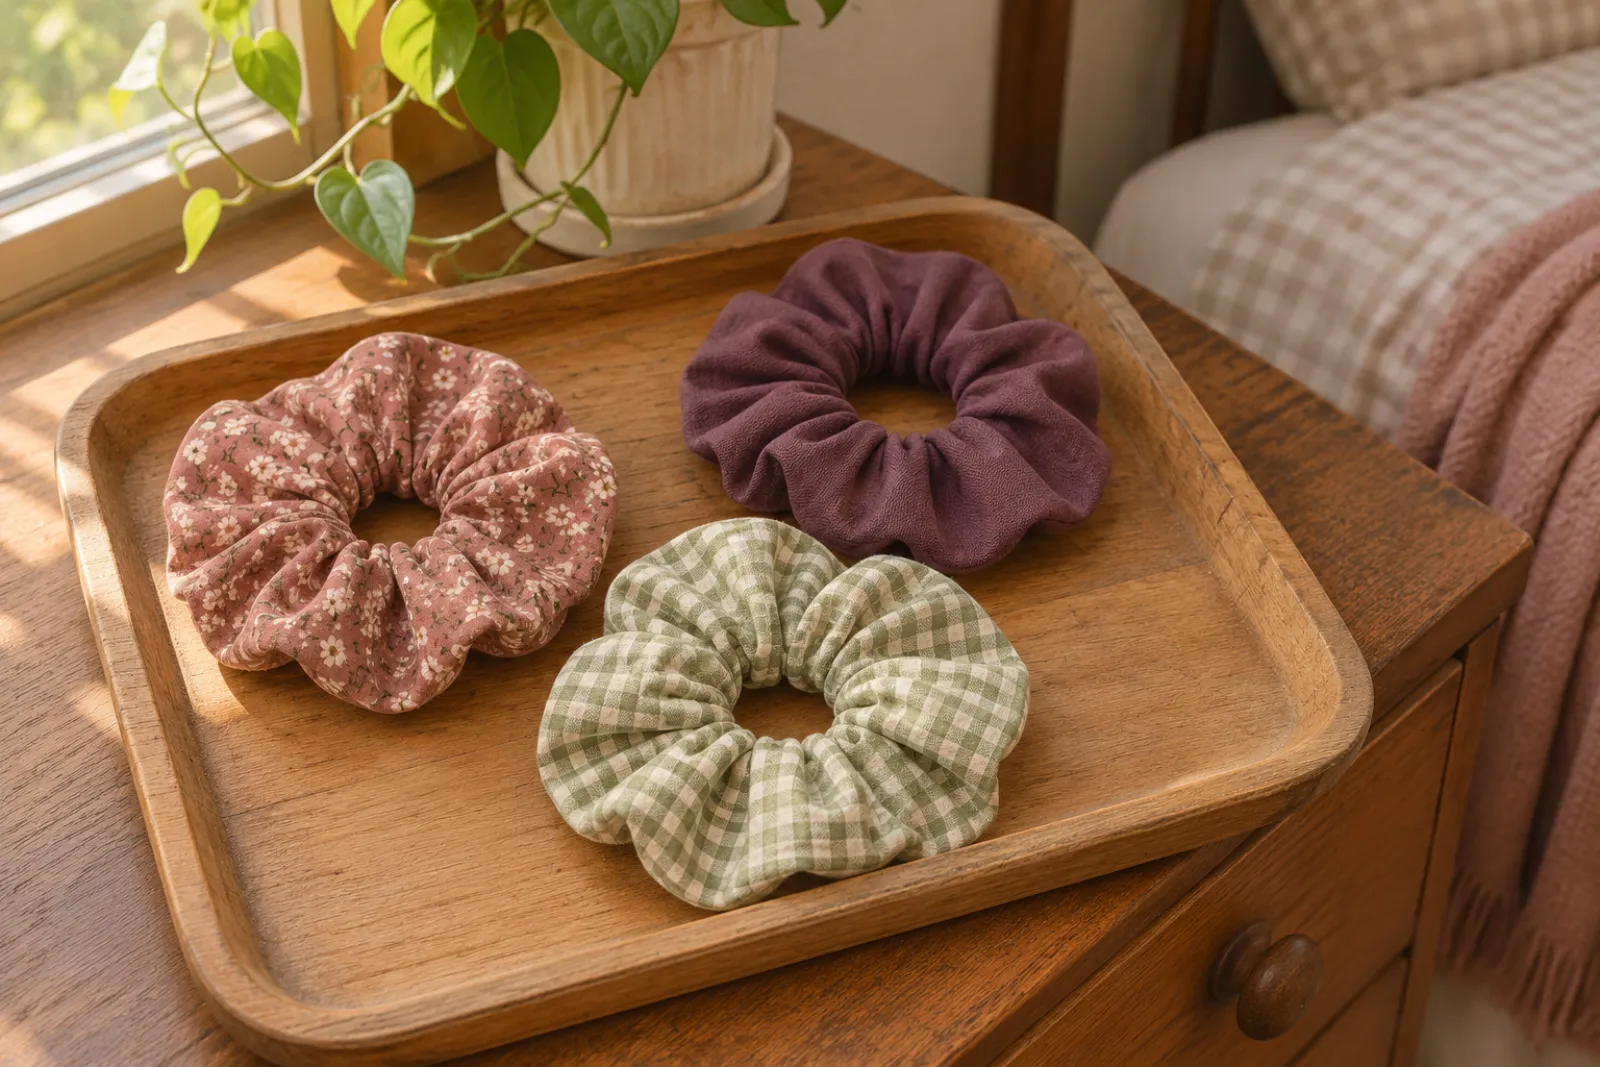
Free pattern
Scrunchie
Fabric tube about 21 × 1.75 in before gathering
Beginner
Allow 30–45 minutes (planning estimate)
Cutting chart & steps ↗Patterns
Make a lined tote in a print you love. Follow the measurements, cutting chart and steps at your own pace.
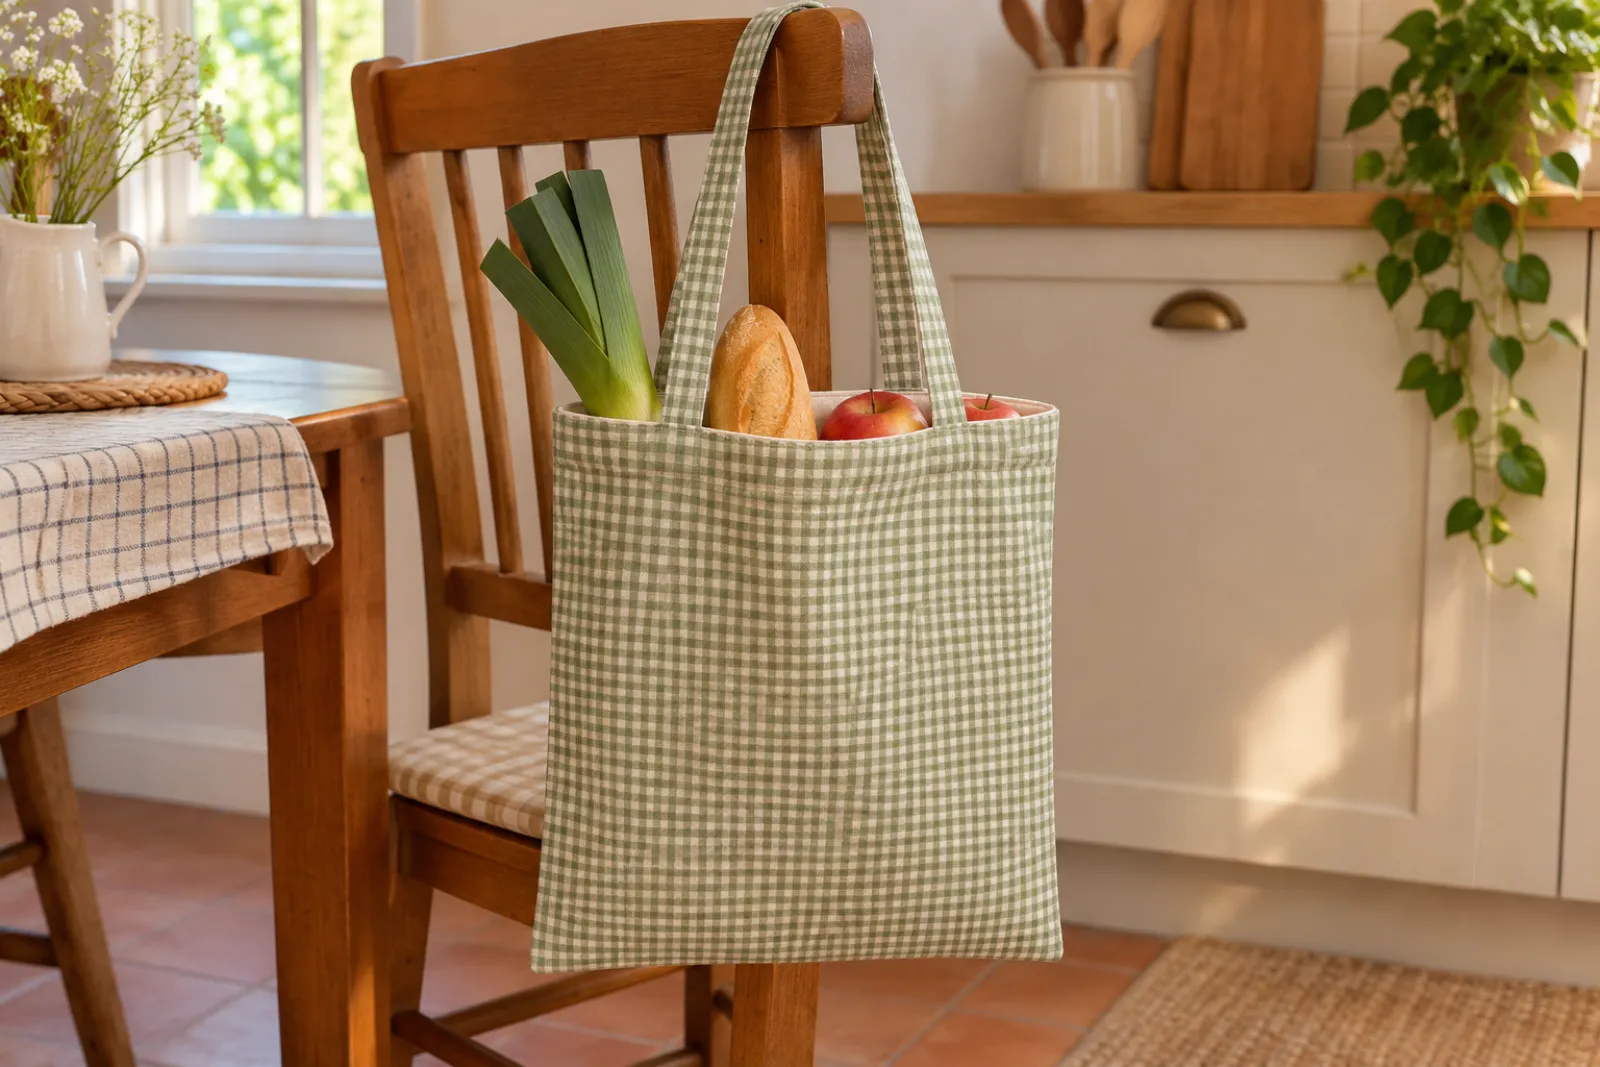
Free pattern · Make it your own
Drafted from measurements by the SewingCritic team. We have not yet photographed a sewn sample.
The PDF includes the chart, steps and full-scale layout sheets.
Medium woven cotton for the outside; light woven cotton lining. Avoid directional prints for your first bag.
Matching all-purpose thread; Universal 80/12 needle for medium cotton; pins or clips; ruler; scissors; iron.
Check the needle and thread chart
| Size / fabric | 44 in | 58 in |
|---|---|---|
| Standard · lining | 0.5 yd15 + 2 = 17 in; round up to 1/4 yd | 0.5 yd15 + 2 = 17 in; round up to 1/4 yd |
| Standard · main | 0.75 yd24 + 2 = 26 in; round up to 1/4 yd | 0.75 yd24 + 2 = 26 in; round up to 1/4 yd |
We reserve 2 in of width for selvedges. Place pieces left to right in chart order, starting a new row when the next piece does not fit. Each row uses the longest piece in that row. Add 2 in handling to the total cut length, divide by 36, and round UP to the next 1/4 yd. Pieces do not rotate. No shrinkage allowance is included. Prewash before measuring usable fabric. Directional prints can need more.
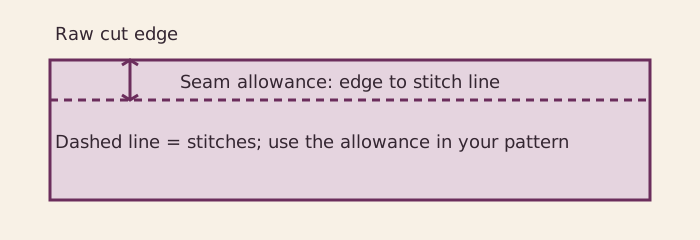
All sizes are inches. Cut single layers unless the instructions say otherwise. Seam allowance is already included.
| Piece | Quantity | Width × length | Seam allowance |
|---|---|---|---|
| Standard | |||
| Outer body (main) | 2 | 15 × 15 in | Included |
| Lining body (lining) | 2 | 15 × 15 in | Included |
| Handle (main) | 2 | 4 × 24 in | Included |
These diagrams use the chart dimensions and keep the grain parallel to the long fabric edge. Rectangles do not rotate. PDF large-format pages are 100%; for home printing use the chart. The stocking also includes four Letter-size template tiles.
Prewash and press both fabrics. Cut the chart exactly. Keep the 15 in edge parallel to the selvedge. All seams are 1/2 in unless stated.
Press each 4 × 24 in strip in half lengthwise; open. Fold both long edges to the centre, then fold closed. Stitch close to both edges. Each handle is 1 × 24 in.
Place outer squares right sides together. Sew both sides and the bottom. Keep the top open. Press seams open and clip only the bottom corner tips, clear of the stitches.
Sew the lining the same way, but leave a 4 in gap in the bottom seam. Do not box the corners.
Turn the outer bag right side out. On each face put the outer edges of the handle ends 3 in from the side seams. Keep the handle loop down against the bag and raw ends at the top. Baste 1/4 in from the top. Check for twists.
Keep lining inside out. Put outer bag inside lining, right sides together. Match side seams and raw tops. Stitch around the top 1/2 in from the edge, catching all four handle ends.
Pull the bag through the lining gap. Close that gap with a narrow edge stitch. Push lining inside. Press the top and stitch 1/8 in from it; add a second line 3/8 in below. Each handle has 1/2 in of each end caught in the top seam. The handle drop depends on the curve and spacing.
Use contrasting handle fabric. Add a pocket to a body panel before assembling the bag. Keep this flat base when using the stated finished measurements.
Free pattern
Fabric tube about 21 × 1.75 in before gathering
Beginner
Allow 30–45 minutes (planning estimate)
Cutting chart & steps ↗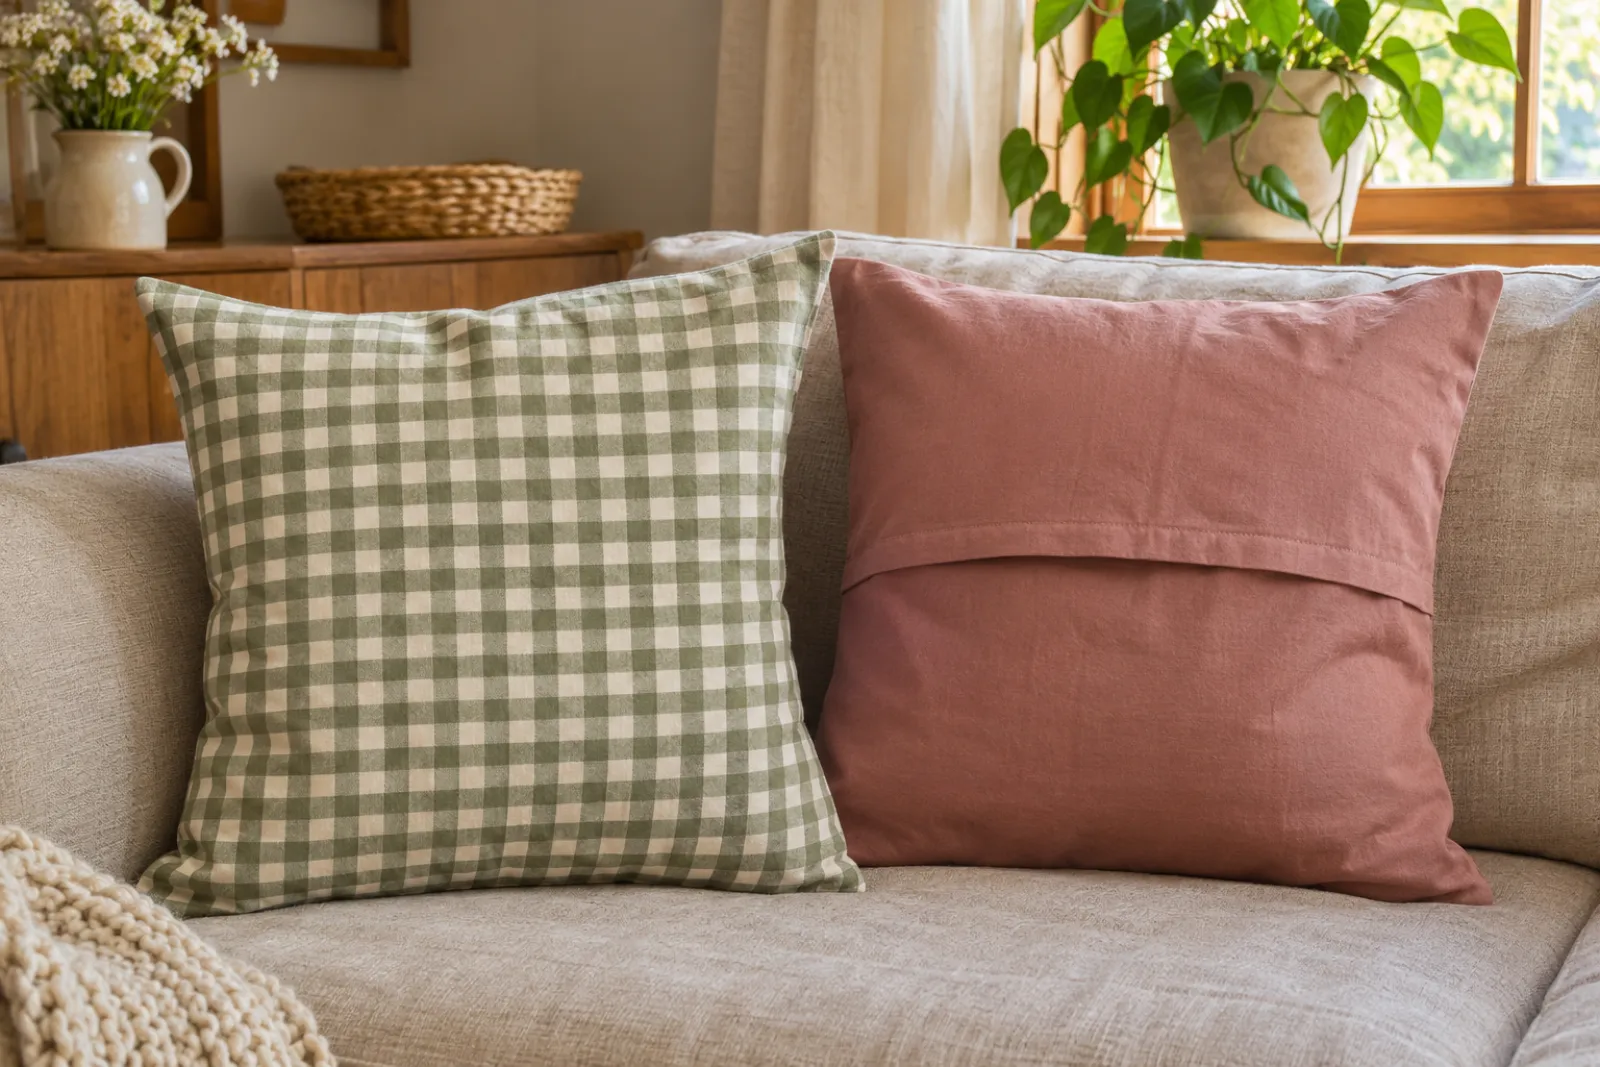
Free pattern
16, 18 or 20 in square; 5 in back overlap
Beginner
Allow 1–2 hours (planning estimate)
Cutting chart & steps ↗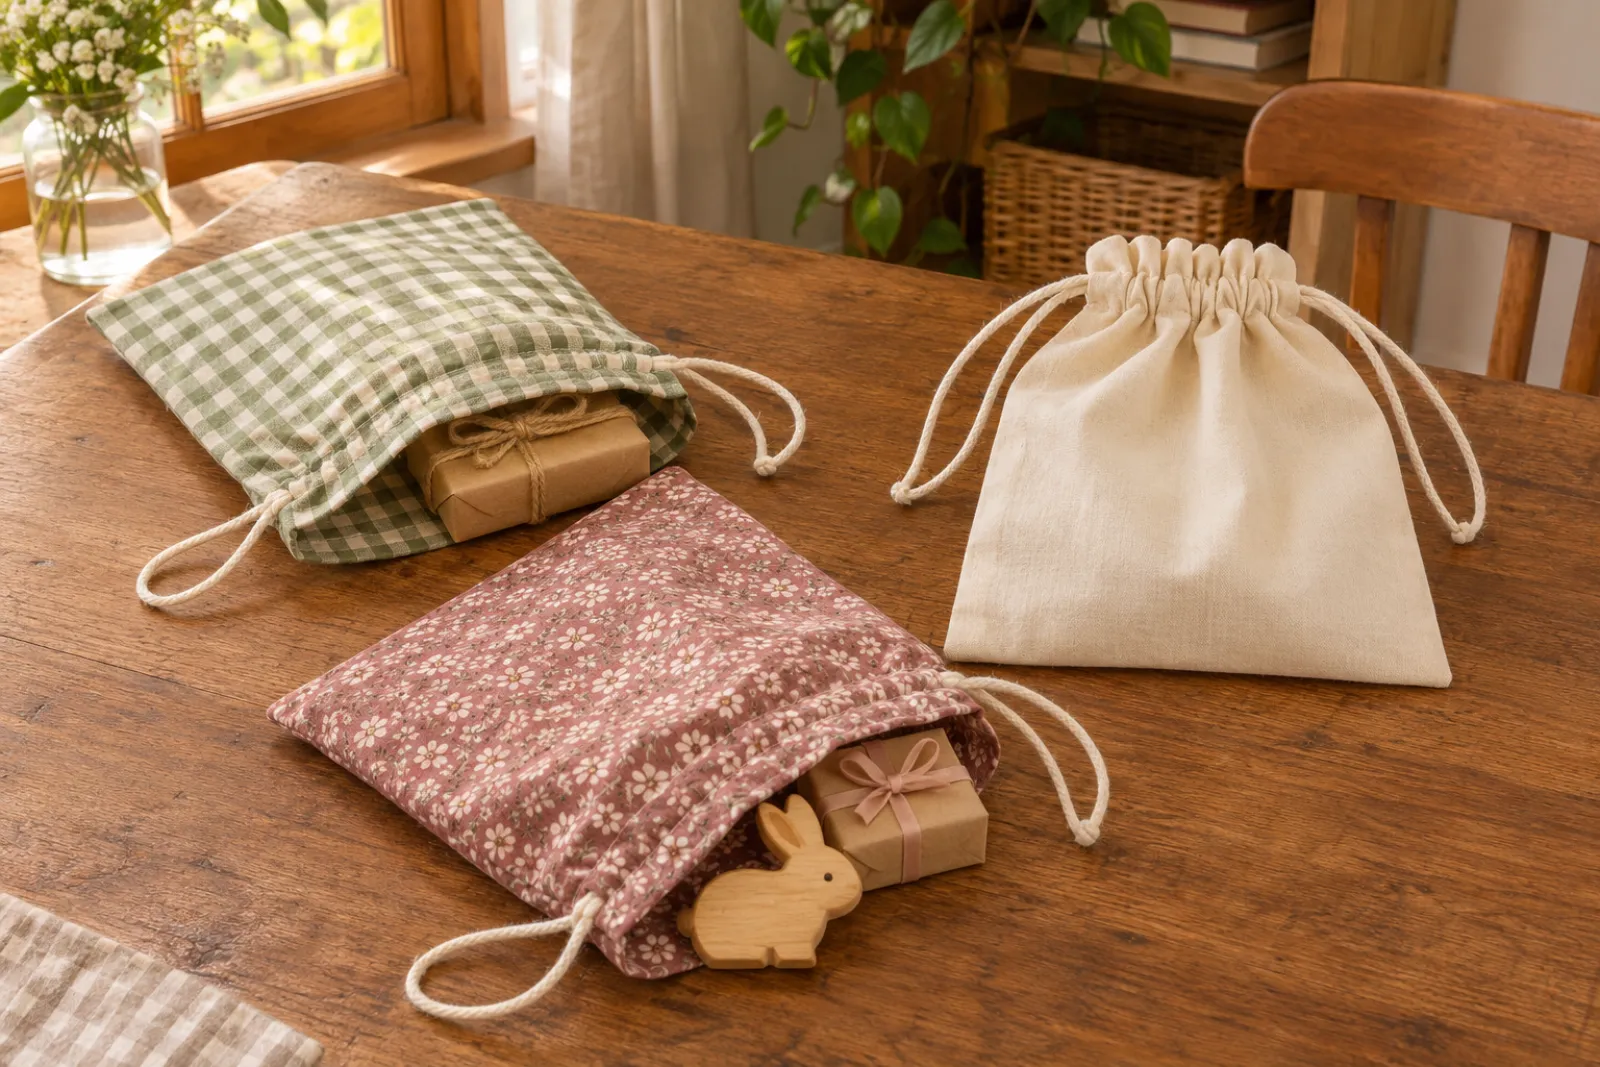
Free pattern
Small 6 × 8; medium 10 × 12; large 14 × 16 in
Beginner
Allow 1–2 hours (planning estimate)
Cutting chart & steps ↗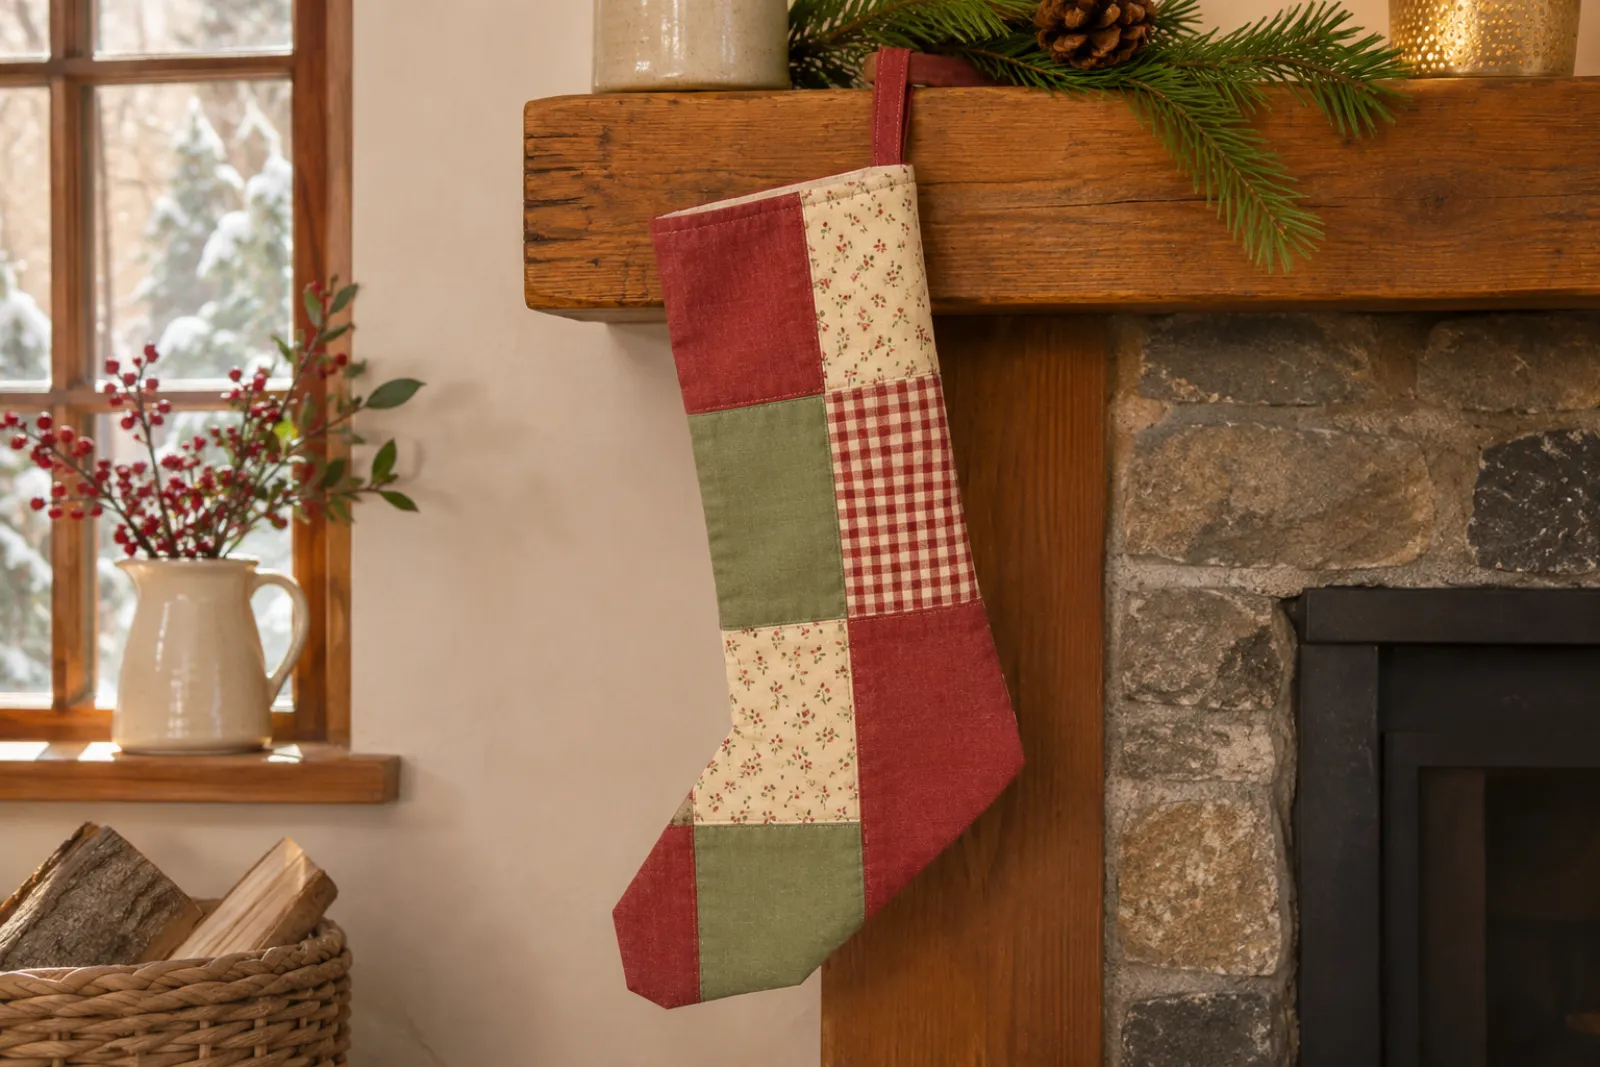
Free pattern
15 in high; opening 5 in flat; angular toe
Confident beginner
Allow 2–3 hours (planning estimate)
Cutting chart & steps ↗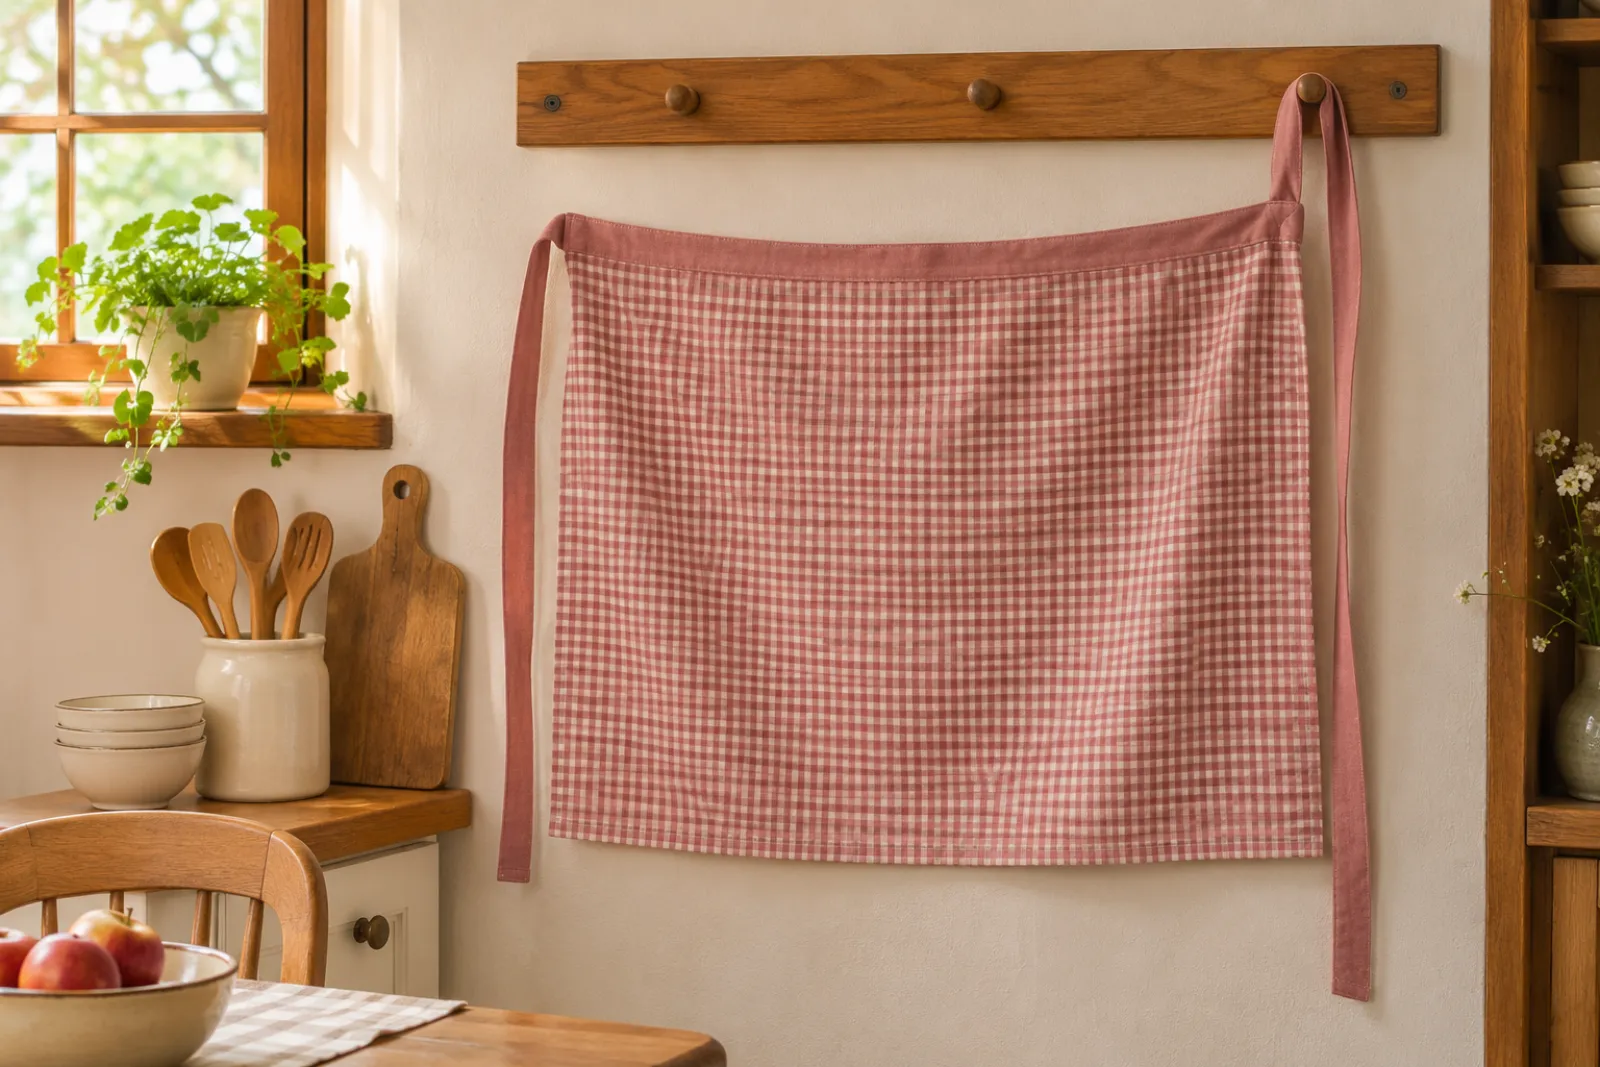
Free pattern
26 × 20 in including waistband; two 33 in exposed ties
Beginner
Allow 2–3 hours (planning estimate)
Cutting chart & steps ↗