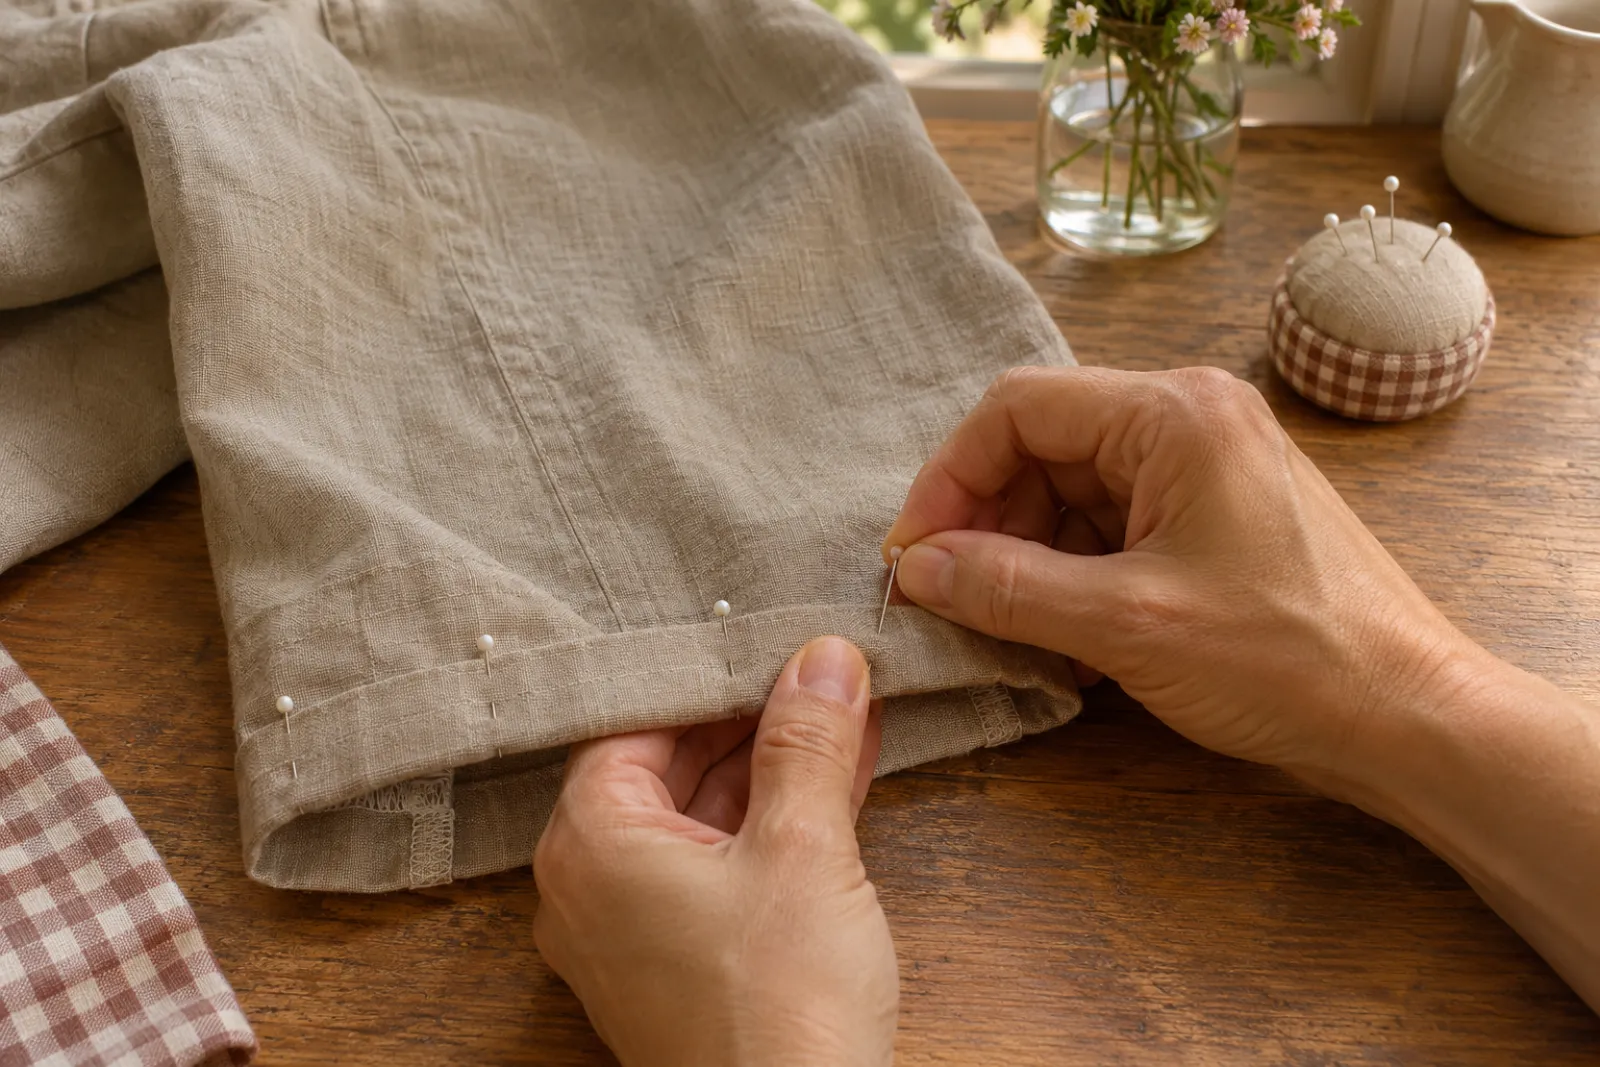
For practice, allow 30–60 minutes (planning estimate). Bring a fabric scrap, suitable needle and matching thread. Use the model manual for machine work.
What is the usual threading sequence?
The upper path usually runs from spool pin through thread guides, tension discs, take-up lever and needle eye. Use the model manual for the exact route, needle direction and bobbin orientation.
- Turn off the machine before working close to the needle. Follow the manual’s safety instructions.
- Raise the presser foot and put the needle and take-up lever in the threading position specified by the manual.
- Put the spool on its pin. Fit a spool cap if the manual calls for one.
- Follow each guide into the tension path. Do not skip the take-up lever.
- Follow the final needle-bar guide, then thread the needle in the direction shown by the maker.
- Insert and route the bobbin thread as the manual shows. Draw up the bobbin thread if that model requires it.
Why raise the presser foot first?
Raising the foot lets the upper thread seat in the tension mechanism. Singer identifies incorrect upper threading as a usual cause of loops underneath the fabric.
Thread in the order shown by the maker. A correctly threaded needle can still produce a poor seam if the thread missed the take-up lever or tension path.
Is a drop-in bobbin threaded the same as a front loader?
No. Use the bobbin route and orientation shown in that model’s manual.
Singer notes that loops on top can indicate a bobbin insertion or threading problem. Check that route before changing tension settings.
Where can I find my model manual?
Use the maker links below. Brother links open the exact model support page; other makers provide manuals from their model page or support section.
Check the complete model name and suffix. A nearby model number is not proof of the same threading route.
Which sources did we use?
- Singer Faqmaker reference · read 2026-11-04
- Janome Hd Manualmaker reference · read 2026-11-04
What if the practice seam goes wrong?
Stop and check the threading, needle and fabric combination before changing settings. Use the stitch fixer to match the symptom to a first check.
What should you practise next?
Try the scrunchie cutting chart and steps, or keep the beginner PDF pack for later.
Continue to the next lesson ↗