Learn
How to fix a broken zipper
Identify the fault before pulling harder or replacing parts.
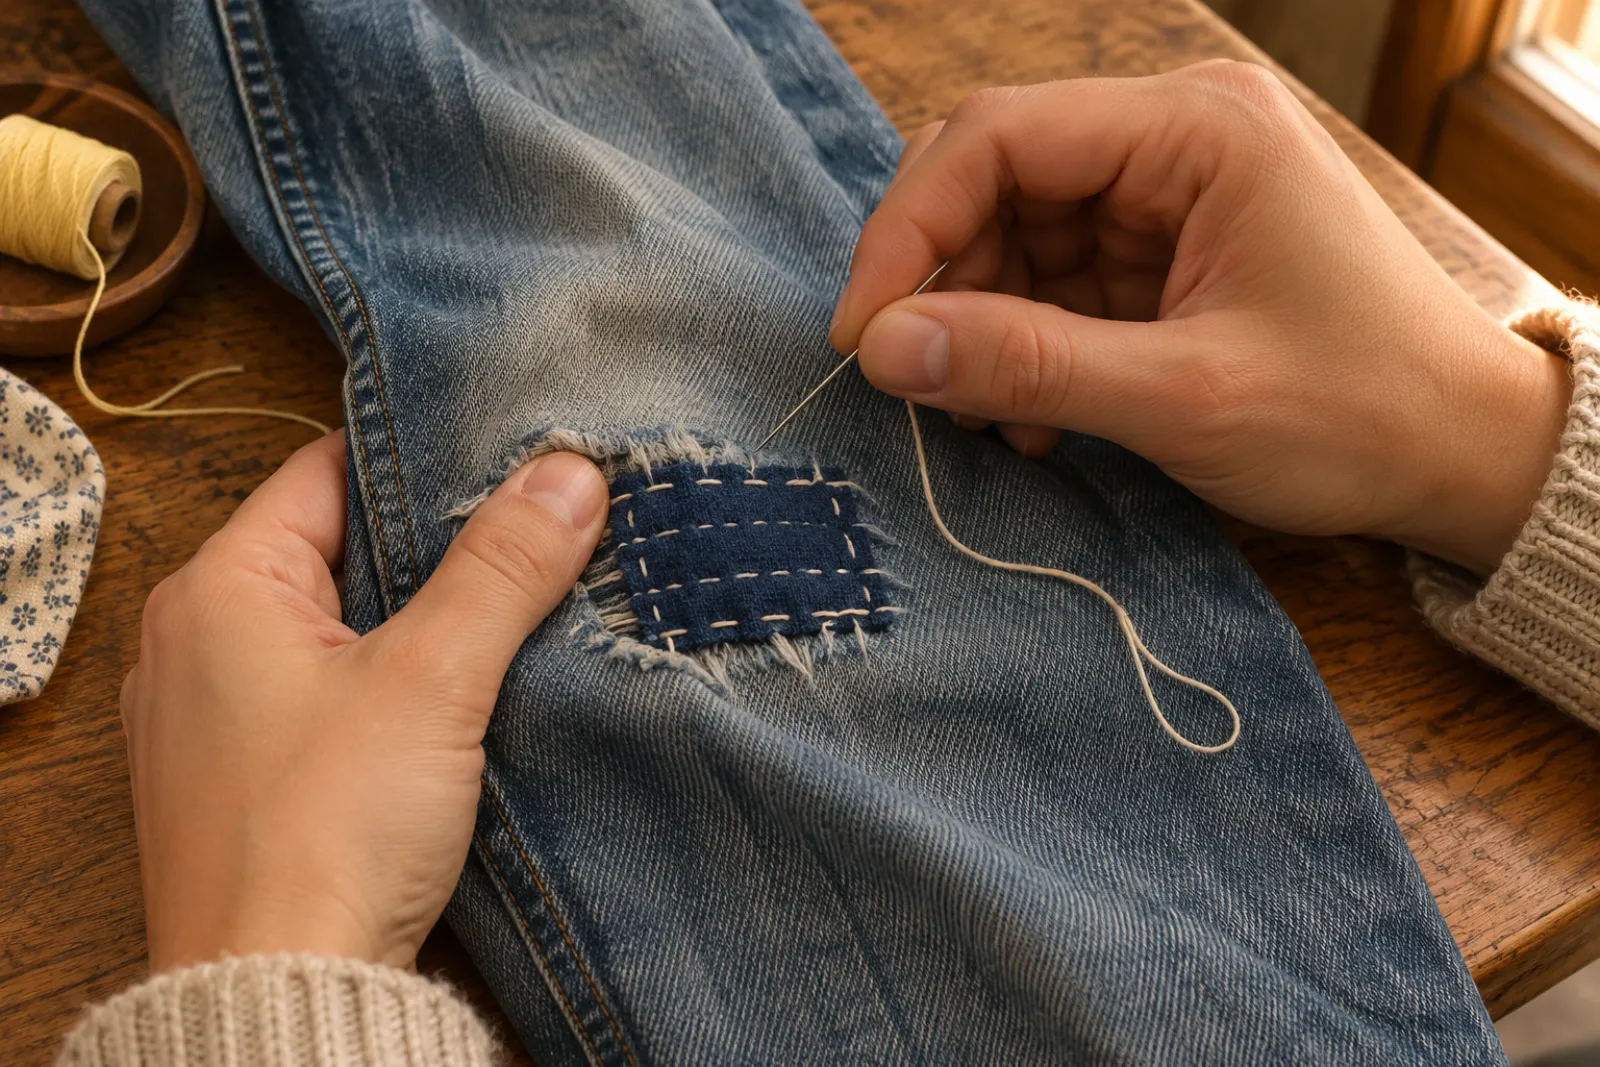
For practice, allow 30–60 minutes (planning estimate). Bring a fabric scrap, suitable needle and matching thread. Use the model manual for machine work.
Is fabric caught in the slider?
Stop pulling. Support the fabric and gently move the slider back while easing the trapped cloth clear. Do not cut the zipper tape. Check for loose threads and keep them away from the slider path.
Are teeth damaged or is the slider worn?
Missing teeth, torn tape and a worn slider need different repairs. YKK provides replacement sliders for specific zipper types; this does not mean a universal slider will fit. Match the zipper size and construction with the maker or repairer.
When should you replace the whole zipper?
If tape or teeth are damaged, replace the assembly with the same length and type. Photograph the original sewing order, unpick one side at a time, baste the replacement and check operation before stitching. Use the correct zipper foot from your machine manual.
Which sources did we use?
- YKK zipper and slider questionsfastener maker reference · read 2026-11-04
- YKK Revived replacement sliderfastener maker reference · read 2026-11-04
- Janome Hd Manualmaker reference · read 2026-11-04
What if the practice seam goes wrong?
Stop and check the threading, needle and fabric combination before changing settings. Use the stitch fixer to match the symptom to a first check.
What should you practise next?
Try the scrunchie cutting chart and steps, or keep the beginner PDF pack for later.
Continue to the next lesson ↗