Guides
Sewing machine tension: loops, balance and fixes
Check the thread path before you turn the dial.
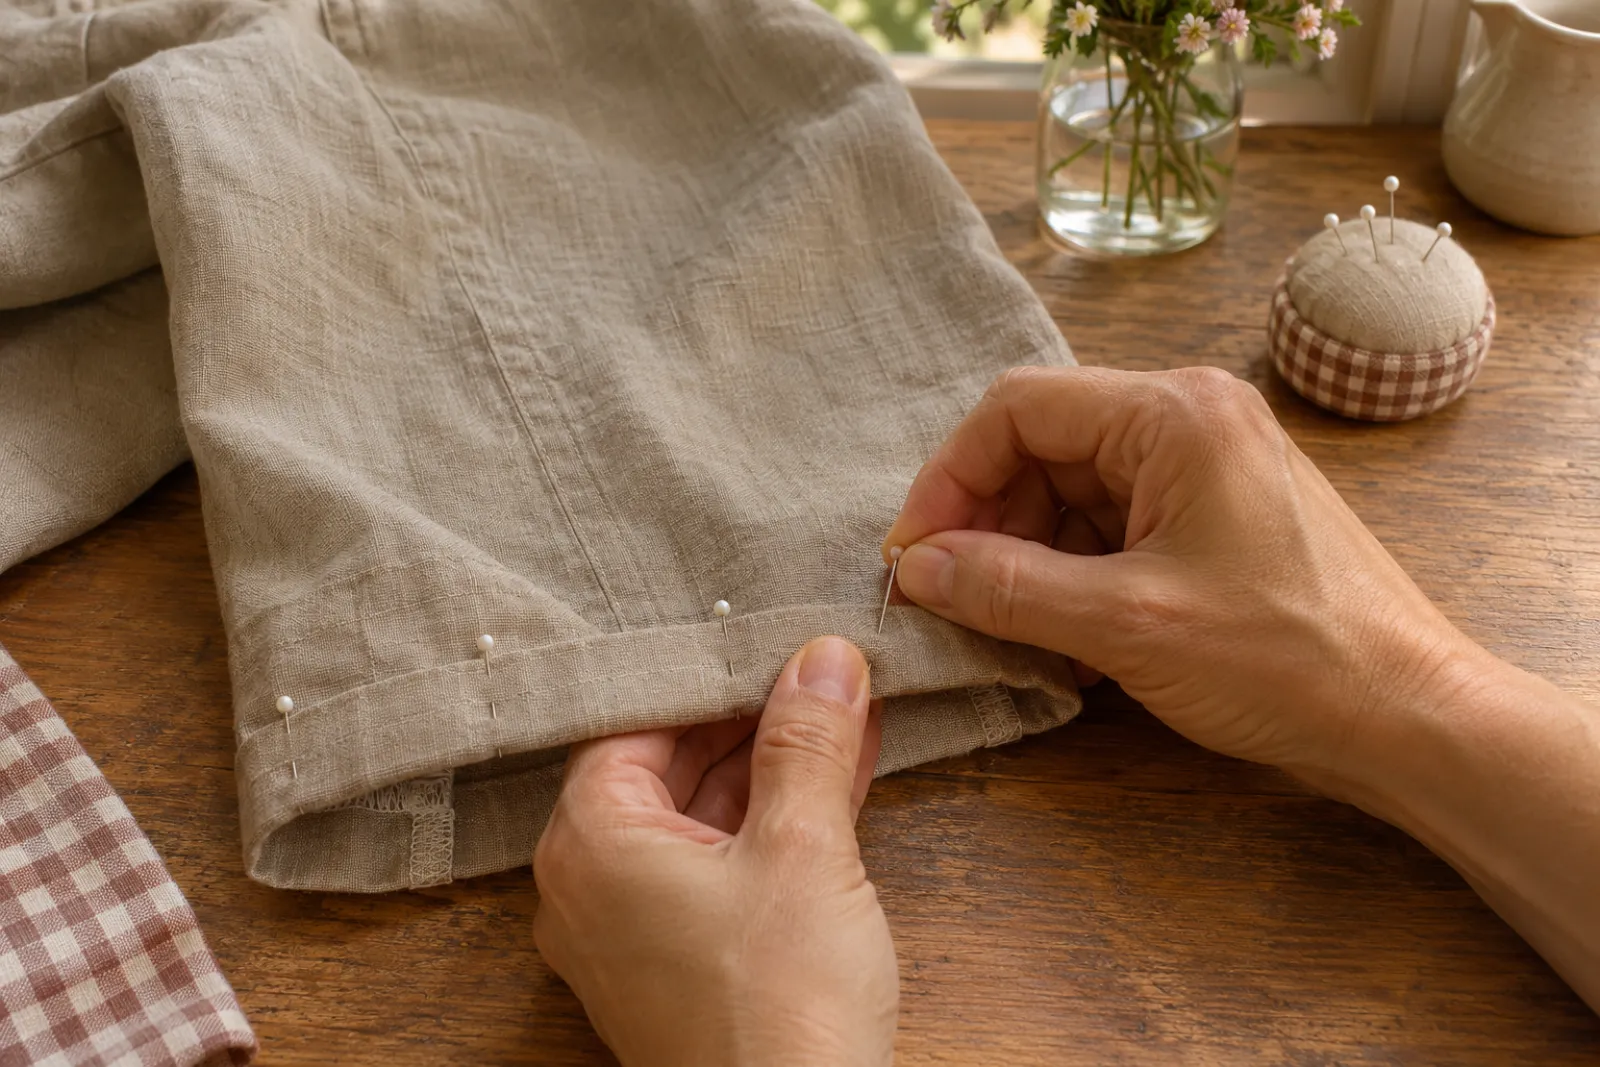
What does balanced tension look like?
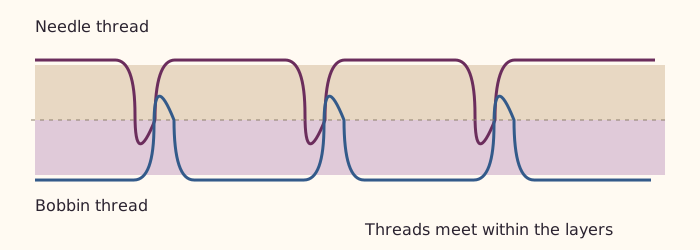
For an ordinary lockstitch seam, the needle and bobbin threads meet within the fabric layers. The diagram below shows that meeting point; it is a schematic, not a measured seam.
Different stitches and materials need their own settings. Use the model manual and inspect both sides of a scrap seam.
What should I check when loops appear?
Check threading first. Singer says loops underneath usually come from an incorrectly threaded upper tension path; loops on top can indicate an incorrectly inserted or threaded bobbin.
| Symptom | First check |
|---|---|
| Loops underneath | Rethread the upper path with the presser foot raised. Include the take-up lever. |
| Loops on top | Check the bobbin type, direction and thread route in the manual. |
| Skipped stitches | Check needle type, condition and insertion. Singer also lists timing as a possible cause. |
Should I adjust the bobbin screw?
Do the threading checks first. Singer says bobbin tension is set at the factory and usually needs no adjustment.
Use the model’s procedure or ask its service provider before changing that setting. Do not use a screw adjustment to compensate for a missed thread guide.
What if the seam still looks wrong?
Check the needle and bobbin against the manual, then repeat the threading route. If those checks do not resolve the fault, use the maker’s service route.
Do not treat one tension number as a setting for all machines. The dial scale, fabric and thread combination can differ.
Which sources did we use?
- Singer Faqmaker reference · read 2026-11-04
- Janome Hd Manualmaker reference · read 2026-11-04